Rockstar Can Tiara - Part 1

Well I did it. I set out to make myself a Rockstar Tiara for my birthday and I succeeded. I had plenty of fun figuring it out... but it was by no means a simple little project. I did take plenty of photos and notes and will do my best to pass on my tiara knowledge in some understandable way. I'll apologize right now for using black yarn again. Not the easiest to see, but it really was the best color for the project.
Materials:
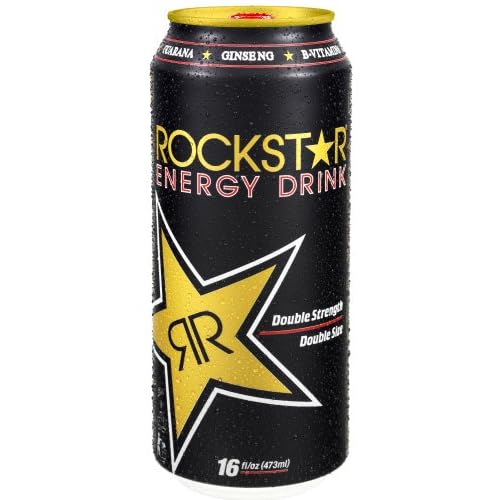
3 tall Rockstar cans (I used the one above for my sample)
3 oz worsted weight yarn
H or I crochet hook
utility scissors
paper hole punch
60 Large pony beads
yarn needle
Cut out each star as shown, leaving a bout 1/2" border and rounding the tips. You'll notice one corner of the star hits the edge of the can, so you can't add a border there. We'll address this later to make the stars look symmetrical, for now just round the corner as shown in the photo.

Cut out the vertical Rockstar word from 2 of the cans as shown. Leave about 1/2" above and below the word.
See the photo for hole placements. For the stars, I punched a hole at each tip (except the weird short one), at each indent, and one in between. Try to put the holes outside of the star shape if possible, but not so close to the edge that the can will tear.
Stay tuned for Part 2!


This comment has been removed by a blog administrator.
ReplyDeleteHelp all ready for part two of the Rock Star Crown and don't see it??? Can you let me know when it will be posted...Hope you're having a great trip...Debb calcrochetnut@msn.com
ReplyDeleteCould have part 2 of the post please? I have girlfriend turning 40 in March that I would love to make this for her. Thank you!
ReplyDelete